Top Sprayer Tips: How to fill a sprayer optimally

Posted 4 years ago
11/03/2022
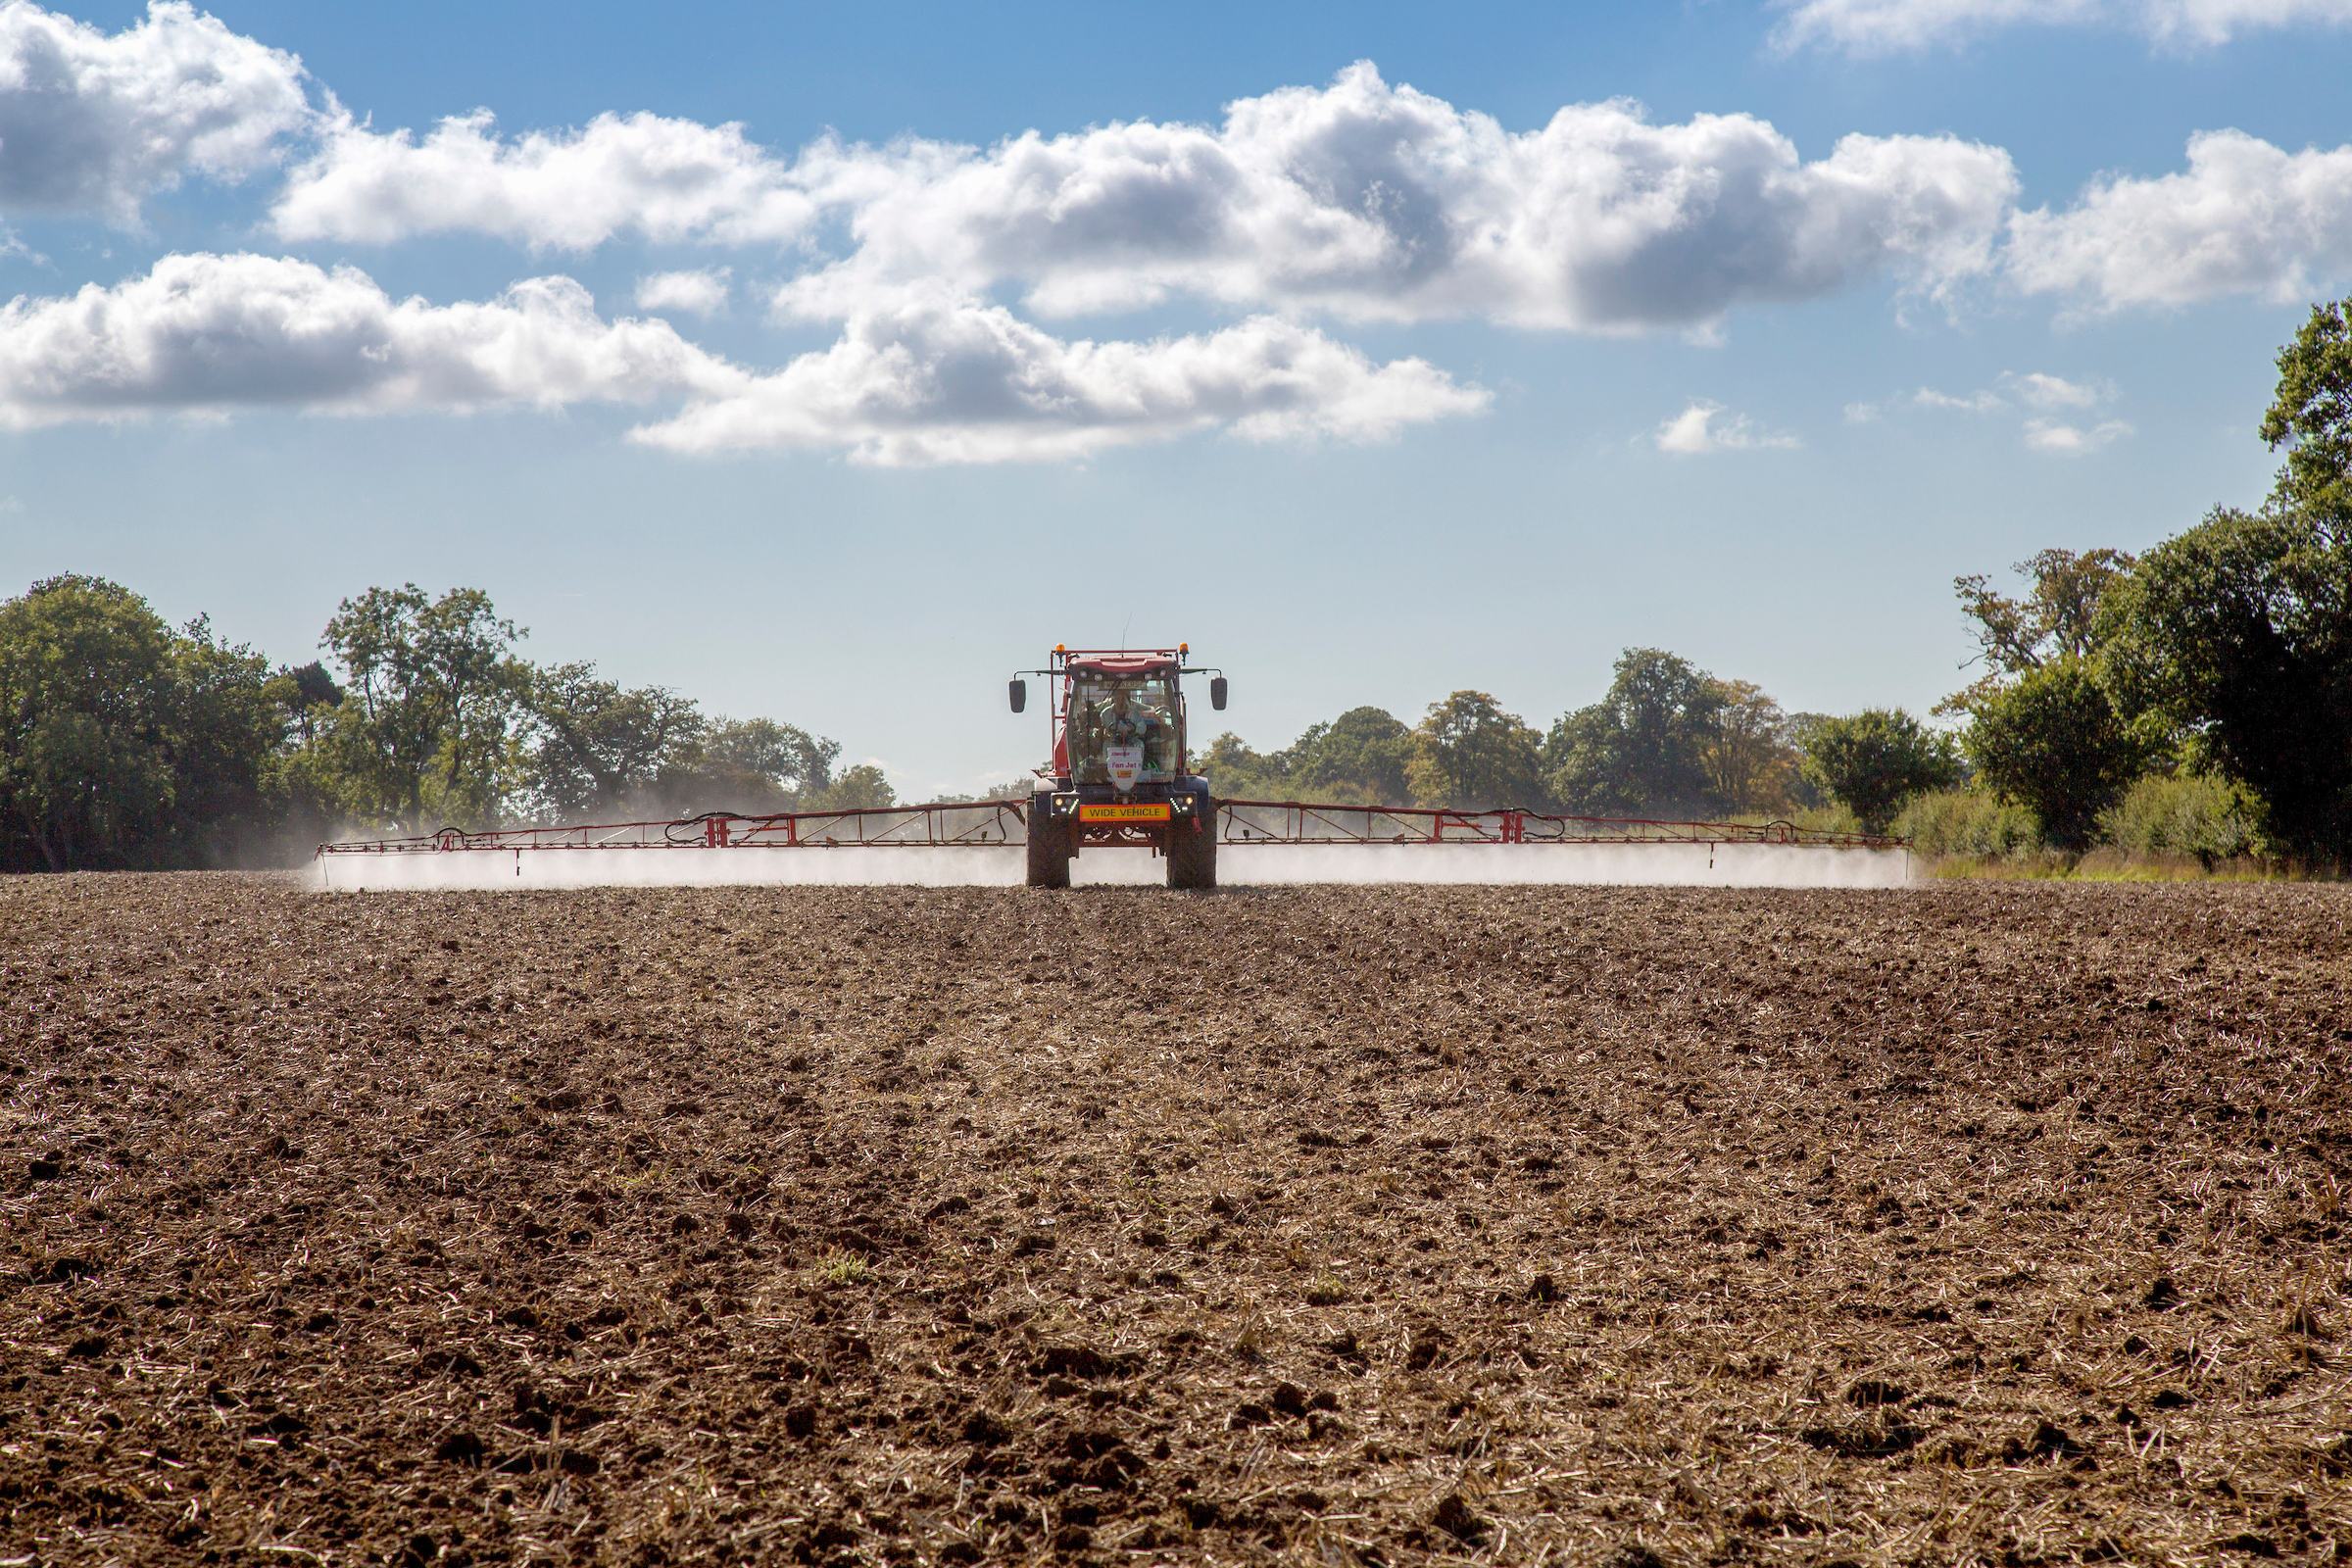
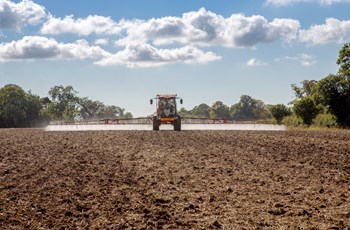
With the sprayer all set up for the season, maximising efficiency is critical for helping to extend the available time for spraying and helping ensure products are applied in a timely manner.
Mixing and filling is a process that can be made more efficient to minimise downtime, but it’s also the time when there is the greatest risk of contamination of water, so it needs to be done carefully and safely.
A purpose-built site for filling is ideal, but other areas can be used safely or adapted to prevent pollution. The Voluntary Initiative provides some excellent guidance for pesticide handling areas.
The following tips and tricks are designed to help make filling the sprayer as efficient as possible.
The first thing to do is to read the label. Key things to watch for on the label include the statutory requirements, which are a legal requirement.
“I would be looking firstly for things you shouldn’t do,” says Tom Robinson, an independent spray application specialist.
Safety issues are an obvious example – some labels might state a minimum water volume, for example, as well as the hazard warning symbols.
The label will also confirm your agronomist’s recommendation is within the legal parameters for the product, and what water volume to use. It might include tank mix information (see below) and potentially any special mixing instructions.
A good routine helps both speed up mixing and also minimise mistakes. Good tips from experienced sprayer operators include organising the spray store into individual areas for each type of product, perhaps colour coding it as well.
A white board on the sprayer or at the fill site, or at least a list attached to the sprayer, should be used to write down the products required together with the quantity and filling order. A trolley or a specially constructed filling table, as long as it is stable and sturdy, close to a water supply is ideal.
The average spray load is around three litres of concentrated product, usually split between three different products on average, according to Mr Robinson.
Adding these to the sprayer in the right order can be crucial to avoiding blockages from incompatibility, foaming, under-mixing and poor product performance. In the most serious cases, the sprayer can be damaged.
Some tank mix orders are on the label, but often the best way to find out if you’re not sure is to ring the manufacturer for advice, Mr Robinson says.
The AIC has also produced a suggested tank mix sequence order for when one isn’t specified on the label (see table).
| State | Order | Formulation abbreviation | Formulation |
| 1 | Water conditioners | ||
| Solids | 2 | WG | Water dispersible granules <100g/ha |
| 3 | WSB | Water soluble bags | |
| 4 | WG | Water dispersible granules >100g/ha | |
| 5 | WP | Wettable powders | |
| Liquids | 6 | Compatibility agent | |
| 7 | SC | Suspension concentrate | |
| 8 | SE | Suspo-emulsion | |
| 9 | EW | Oil in water concentrate | |
| 10 | EC | Emulsifiable concentrate | |
| 11 | SL | Soluble contentrate | |
| 12 | Other adjuvants | ||
| Other | 13 | Trace elements / foliar feeds |
“The crucial things on tank mixing are if you’re using a water conditioner, it always goes in first, and trace elements last.
“The water conditioner blocks the cations in the water before the chemical goes in and gets locked up onto them, while the trace elements are an industrial strength source of cations so can cause blockages. Liquid trace elements always cause fewer problems than solids.”
“If the load requires part containers of any product, these should be added first. That way if you make a mistake on the part measurement you have another chance to rectify it,” Mr Robinson says.
Write down the order the products will be added on your white board and get them lined up in to make them easy to add.
Start filling the sprayer with clean water. Usual advice is to half-fill and then shut-off to reduce the risk of agitation causing foaming when adding the products.
But Mr Robinson suggests that products can be added once the tank is a quarter-full of water. “Experienced operators know how much chemical they can add while the tank is filling. They will plan to stop once the tank is three-quarters full, for instance, to add the rest of the chemical to the sprayer and then finish off by adding the last quarter of water.”
When adding the chemical, always have water flowing in the induction hopper before adding any chemical, he says. “Pour the products down the side of the induction hopper rather than into the water, as that stops them splashing.”
Have a “squirty pack” of anti-foam at the filling site, Mr Robinson adds. “There’s probably not a sprayer operator in the world who hasn’t overfilled a sprayer, and the usual cause for whatever reason – an air leak or leaving the induction hopper open – is foaming inside the tank before the tank is full.
“You can be halfway through filling and suddenly there’s 500 L/min of spray mix spilling out from the overflow pipe. You can mitigate against that by putting a sawn-off plastic drum under the overflow pipe, as well as a drip tray under the hopper, which means you can pour it back into the sprayer.”
A few squirts of anti-foam in the induction hopper will then help deal with a sprayer full of foam, he says. “It’s magical in how it will break foam.”
All containers should be triple rinsed, with the third rinse carried out using clean water.
Most sprayers have a pump with an output in litres / min of around a tenth of the spray tank volume, says Mr Robinson. “A 5000 L sprayer typically has a 500 L/min pump, so it will take 10 minutes to turn around the whole tank’s content. Obviously, you can include that in the drive back to the field.”
Closed transfer systems which enable neat pesticides to be transferred from the container to the spray tank with negligible exposure to the sprayer operator and the environment have long been seen as both a sensible and important step for the industry to take.
But while various closed transfer systems have been introduced over the years, they have only had limited success, partly because no standard system had been developed.
“That’s changing with easyconnect with 11 crop protection manufacturers including Bayer supporting its development” says Ella Crawford, Bayer’s commercial technical manager for Suffolk.
“The system consists of a standardised cap that will be pre-fitted to any containers with an industry standard IS 63 size neck, irrespective of container volume and manufacturer, and a coupler system” she explains.
The easyconnect cap allows the container to be connected directly to the coupler to establish a closed system, eliminating exposure to the neat product for operators. A probe in the coupler pushes the internal connecting plug of the cap into the container, allowing the liquid to empty into the tank.
“This means there are no foil seals to come into contact with, and there is also an integrated rinsing system that will clean the empty container, cap and connecting plug ready for recycling or disposal.”
Part dosing of cans is possible using the scale on the container, but Ms Crawford says the system is being developed to improve this aspect.
“In trials, most operators are finding that emptying cans is as quick, if not quicker to doing manually, particularly when considering the whole system of emptying and rinsing cans.”
While a lot of attention is rightly placed on product choice, it’s important to maximise the output from this investment – the difference between good and poor spray application can potentially have a significant influence on the performance of the treatment.
There are a lot of factors that will influence that success – some within the control of the sprayer operator and others outside. These include physical losses of whatever you are trying to apply through things like drift, run-off and bounce, and chemical losses caused by hard water, pH and light degradation, for example.
On top of that are field factors, such as the target’s characteristics like shape, structure and size, and weather that all might affect performance. By the time the spray reaches its intended target, the final dose could be very different to what it was when put into the sprayer.
Minimising those losses and maximising the amount reaching the intended target will make a big difference to the success of a spray.
In this series of blogs, we will look at six common application tasks for arable growers and delve into the best current advice for that application, plus a look at important considerations for setting up a sprayer for success.
Available now, blog 5 in the series of Top Sprayer Tips for the Season Ahead focuses on how to maximise returns from fungicides through spray application.