Top Sprayer Tips: 7 top sprayer tips to prepare your sprayer for the season ahead

Posted 4 years ago
07/03/2022
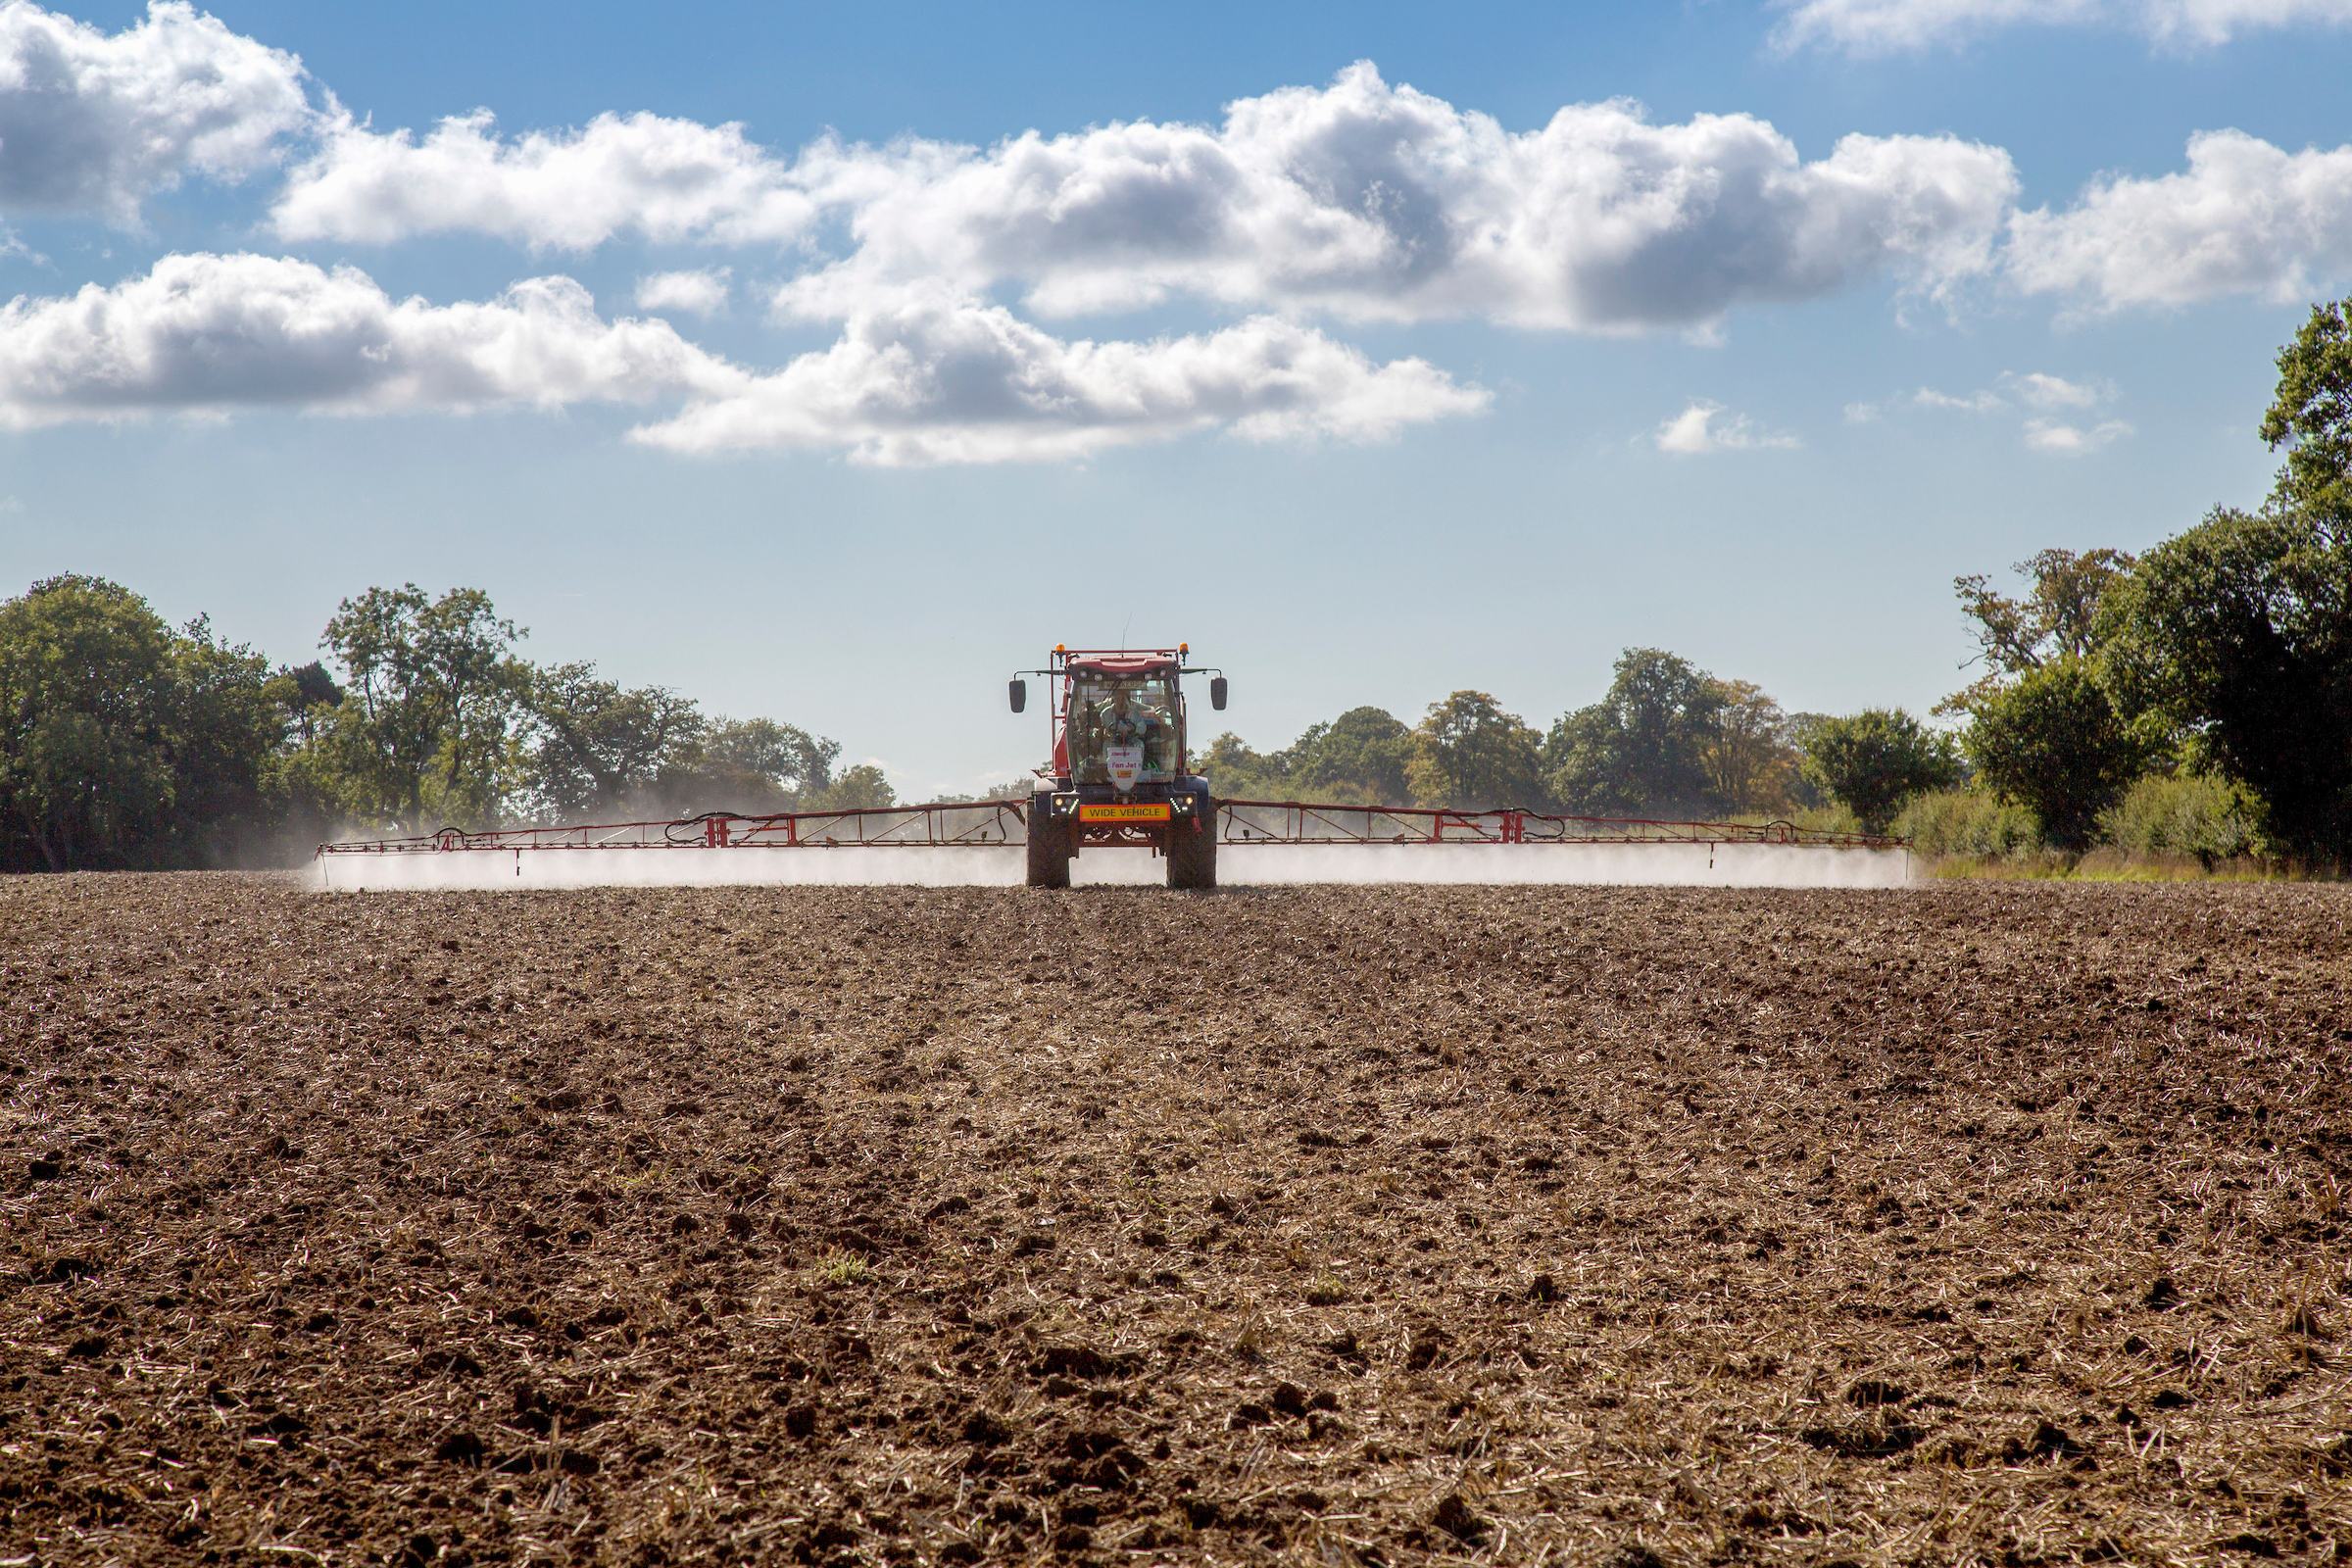
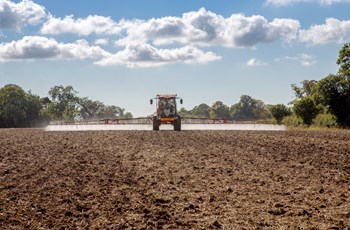
The sprayer has been in the shed for the winter, or for a couple of months, and the new spray season approaches. Read the following tips to help you prepare for the busy period ahead, minimising the risk of downtime and making sure those all-important applications are applied as accurately as possible.
The first thing to do to prepare a sprayer for a new season is to inspect the mechanical fixtures and fittings, says Tom Robinson, an independent sprayer application specialist.
That means checking things like the ball hitch and coupling being free from wear on a trailed sprayer, plus the PTO shaft and guard where that provides the power, and the suspension bushes and wheel nuts.
On a self-propelled sprayer, check the undercarriage especially pins and bushes, and the hydraulic pipework.
Check pipes for obvious signs of perishing – it’s better to change at the start of the season than have the downtime in the middle of the season. A burst pipe can also dump a huge volume of spray solution very quickly at a pump output of 500 L/min, causing a potential point source pollution risk.
All the joints on the sprayer – every grease nipple – will likely need lubricating, but check the sprayer manual. “Some sprayers have nylon bushes which may be happiest not being lubricated, for example,” Mr Robinson points out.
After emptying out the anti-freeze, Mr Robinson suggests putting some water in the sprayer and running it at up to 5 bar pressure to check for leaks, and to make sure the pressure gauge is working.
Next up is to run a calibration using water – that will confirm the pressure gauge is working correctly and check nozzle outputs.
To run a calibration you need to know what your forward speed is, Mr Robinson says. “On older sprayers, where the speed isn’t calculated by GPS by the spray computer, that means timing how long it takes to travel 100 m at your spraying speed.”
If you do need to do that, you calculate the forward speed in km/h by dividing 360 by the time in seconds it took to do the 100 m, he explains.
“On a sprayer with a modern spray computer you will be able to put a simulated forward speed in. In both cases cross check your nozzle output to what they should be.”
He advises if using fan jet nozzles to choose a set that means you are spraying at 2 bar pressure rather than 3 bar. “They will be about a third less drifty at 2 bars than 3 bars, with no drop off in performance.”
Nozzle output (L/min) is calculated by multiplying water volume (L/ha) by forward speed (km/h) by nozzle spacing (m) divided by 600.
Time the output of each nozzle collecting the spray in a measuring cylinder rather than jugs for 30 or 60 seconds. Even better is using a Spot On Sprayer Calibrator, Mr Robinson says.
“It’s a measuring cylinder with an electrode at the top and bottom and it times how long it takes to fill up that cylinder, and gives you a digital readout in litres / minute. It’s better because you don’t have to look at your watch all the time which introduces errors when you start and finish.”
Check for uniformity. If the nozzle outputs across the boom vary by more than 5% the nozzle set should be changed, he says. “When you are confident the set of nozzles is good, set the pressure to obtain the correct output. I always like to be 1-2% under as you always waste chemical on the short work, although with the modern automatic nozzle switch off you should hardly waste anything.”
The boom should be dead straight, Mr Robinson says. “It can be quite difficult to check, but the key is to look down the central section, which is rigid, and everything should line up from there. It shouldn’t be drooping or pointing up.”
Drooping is much more common, and means that you run with the boom higher in the field to compensate, increasing drift and wasting the energy the spray comes out of the nozzle at, reducing the penetration into the crop.
If the boom isn’t straight then it can be usually be adjusted at the joints, although if worn bushes are causing the issue then they will need to be changed, he says.
Also check the boom suspension system by pushing the end of boom down by about 50 cm. “It should come up just past level and then drop to horizontal. If it does any more oscillating than that, then there’s something wrong with the dampening.
“Similarly, if it never comes back up to horizontal something is wrong – probably a lubrication issue.”
Next, push the boom forward and backwards to check the break-backs are working.
A Swedish researcher found that weeds being sprayed with poor boom stability could require up to 30% more chemical to kill them than with a good boom in an experiment, Mr Robinson points out. “It shows how important it is to have the boom working as it should do.”
Nozzles, if you look from behind in their holders, should be vertical, Mr Robinson says. “If you look along the boom line from the end they should be dangling vertically. Quite often I find on sprayers they are not, particularly on spray booms, where the spray lines are held on by clamps where it is easy for the steel tube to rotate and the whole boom line is twisted.”
“That means you won’t get the best out of your spray. The nozzles are designed to either be vertical, or vertical because they have an angle built in, which you disrupt if the line is not vertical in the first place.”
Guardian air nozzles, for example, have a small angle of either 10 or 13 degrees depending on size, pointing backwards to counteract the forward speed of the machine to make the spray drop vertically. “If the nozzle isn’t vertical that angle is wrong so you don’t get the benefit of the nozzle.”
Boom stability will be increased if tyre pressures are the minimum they can be for the maximum load they will be taking. That will make a difference to the ride and boom stability, and potentially help work rates through quicker forward speeds, he explains.
“The smoother the ride, the less the boom isolation system has to work, and that will help you go faster, while maintaining a level boom.”
A simple way of making sure the boom or, more accurately, the nozzle height above the spray target is set to the optimal 50 cm is to tie a cable tie on the end of the boom, Mr Robinson suggests.
“It should be 50 cm from the tip of the nozzle to the ground or the top of the crop, depending on spray target.”
If you have a GPS system which automatically turns the sprayer on and off as you cross the headland, make sure you always cross the headland at the same speed both when finishing a pass and when starting a new one, Mr Robinson says.
“So when you set up the sprayer, you need to put in all the correct data to calculate this, which includes the height of the sensor and distance from the boom.”
Refer to the sprayer handbook to check for any other requirements, he adds.
“The effectiveness of auto on/off depends on the operator. It’s very easy to turn on 2 m too early or too late by going at a different speed over the headland than what has been set up.
“I suggest getting a colleague to check whether it is turning on and off at the right time in the field, and adjust if necessary.”
While a lot of attention is rightly placed on product choice, it’s important to maximise the output from this investment – the difference between good and poor spray application can potentially have a significant influence on the performance of the treatment
There are a lot of factors that will influence that success – some within the control of the sprayer operator and others outside. These include physical losses of whatever you are trying to apply through things like drift, run-off and bounce, and chemical losses caused by hard water, pH and light degradation, for example.
On top of that are field factors, such as the target’s characteristics like shape, structure and size, and weather that all might affect performance. By the time the spray reaches its intended target the final dose could be very different to what it was when put into the sprayer.
Minimising those losses and maximising the amount reaching the intended target will make a big difference to the success of a spray.
In this series of blogs, we will look at six common application tasks for arable growers and delve into the best current advice for that application, plus a look at important considerations for setting up a sprayer for success.
Available now, blog 4 in the series of Top Sprayer Tips for the Season Ahead focuses on how to fill a sprayer optimally.
7 Top Sprayer Tips to prepare your sprayer for the season ahead. To find out more, watch the video below.