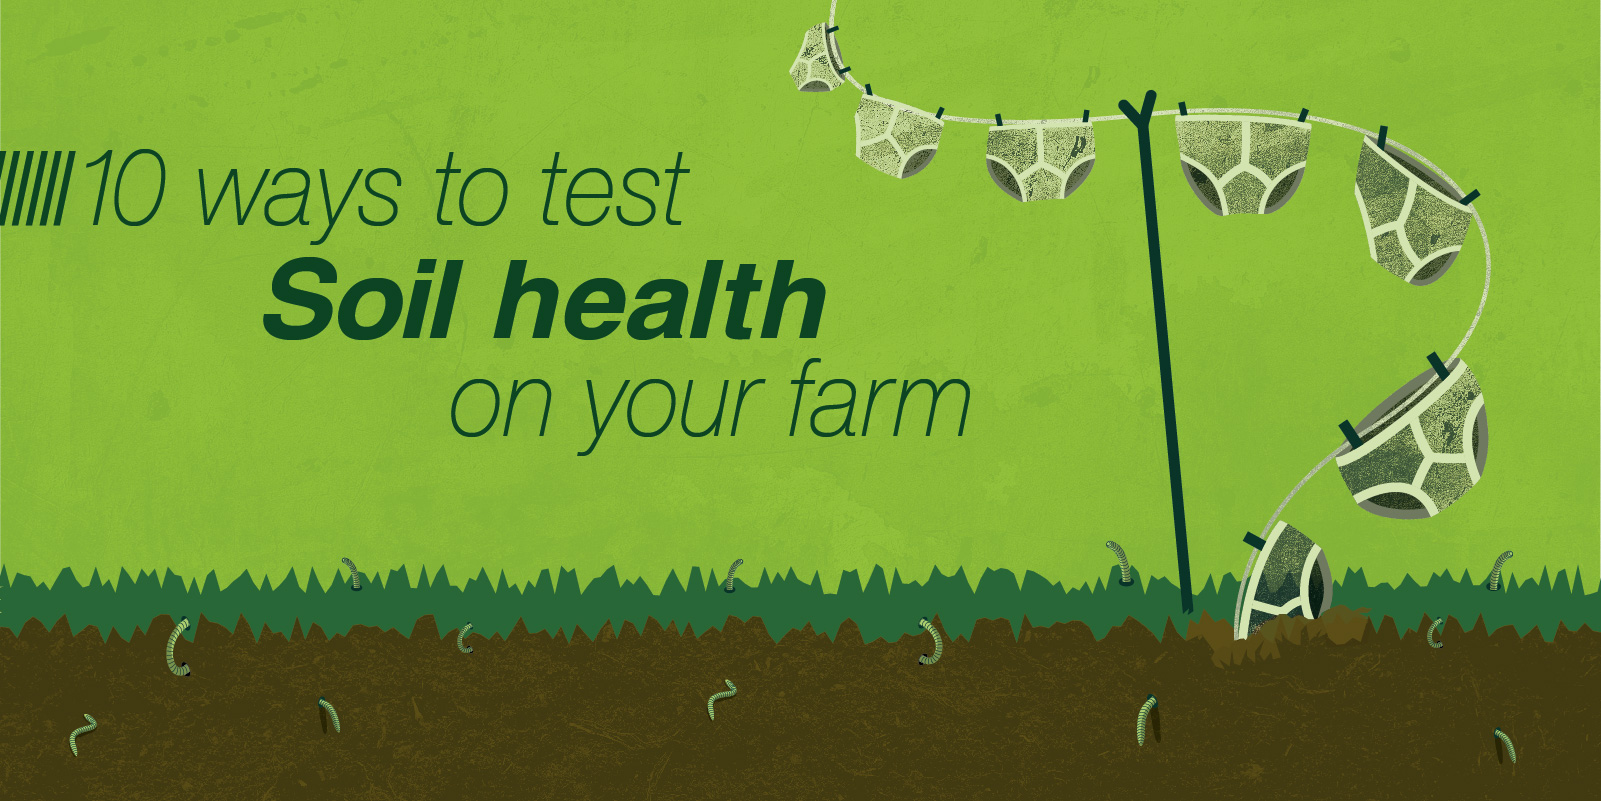
How to Test Soil Health on Your Farm: 10 Key Methods
Defining and measuring soil health is complex, but there are various tests to help farmers and provide useful soil management information.

Posted 6 years ago
24/02/2020
Defining and measuring soil health is complex, but there are various tests to help farmers and provide useful soil management information.
Soil health is ‘the ability of soil to function’ and is strongly linked to soil life, says Dr Felicity Crotty, Royal Agricultural University soil scientist, who stresses soil has to be alive to be healthy.
“It’s the foundation of any farm. It produces our food and performs essential ecosystem services.”
In the UK, four million hectares are at risk of compaction and two million hectares at risk of erosion, emphasising the need to consider what’s happening above and below the ground, she says.
Physical, biological and chemical soil properties all interact, so different farming systems and agricultural practices have implications for soil health, Dr Nathan Morris of NIAB TAG adds.
“We’ve been aware of the effects of cultivations for some time now. The new focus is on resilience and the role of soil biology, which is longer-term work.
“We need to understand how to manage underground colonies of fungi and bacteria to our advantage.”
For farmers wishing to improve soil health, measurements have to be taken. Visual tests are useful, but independent consultant Neil Fuller recommends a combination of laboratory analysis with observational data, to build a knowledge base.
“It’s good to get into a routine with a spade, to get familiar with the soil profile and do visual assessments.”
Accompany this with simple in-field tests and laboratory analysis (see below), with the whole process repeated, preferably over a small area, to monitor changes, he says.
No-till is often advocated as a way to improve soil health and there is good evidence to support that, but it will not suit everyone, says Professor Dick Godwin of Harper Adams.
“No-till systems have higher organic matter in topsoils, greater soil stability and more earthworms. Soils are friable and tend to be easier to work without doing damage.”
He acknowledges choosing the right method for measuring soil health is far from easy, especially when results are difficult to interpret and will determine future soil management decisions.
“You need to take the right measurements and have discipline to conduct and repeat the tests. They also should be done at the right time of year.”
All of the methods listed in this section are low-cost and easy to implement, but each will give you slightly different insights about the health of your soil.
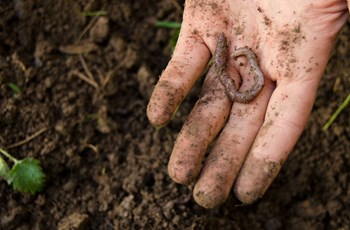
Earthworms are a good indicator of soil structure, health, soil life and activity.
Worm numbers are best assessed in spring or autumn, advises soil scientist Dr Jackie Stroud, founder of wormscience.org, who says it takes just 60 minutes to complete the procedure.
A spade, pot, bottle of water, mat and record sheet are required, so that ten 20x20x20cm soil pits can be dug per field in a standard ‘W’-shape pattern.
Soil is sorted on the mat and earthworms placed in the pot for counting and recording. These are separated into adults and juveniles, to count and record the number of each adult earthworm type.
“There are three main types of earthworm: The epigeic or litter-dwelling earthworms, endogenic or topsoil earthworms, and anecic or deep-burrowing earthworms.”
Each group has a unique and important function. The presence of all of them indicates the potential for specific benefits, such as carbon cycling, nutrient mobilisation and water infiltration.
Targets for each type are more than one surface earthworm (epigeic) per soil pit, more than 14 for the topsoil earthworms and more than one for the deep-burrowing worms.
Infiltration rate is the speed water enters the soil. Measuring it helps understand how soil works with water, providing a good indicator of soil structure and highlighting any compaction.
The simple in-field test requires some 150x150mm metal or plastic tubing (marked at 85mm depth), water, a marked water bottle for accurate measurement and a stop watch.
The testing area should not be saturated, so wait after a heavy downpour. Two tests per field are recommended, choosing the best and worst areas. Repeat the test at the same time each year to monitor improvements.
Insert the tube into the ground to a depth of 85mm, using a mallet if necessary, then measure out 450ml of water. Pour water steadily into the cylinder and start timing – only stopping when the water has disappeared. This should then be repeated.
Basic infiltration rates, based on FAO data are shown below. Faster rates can suggest good crumb structure and aggregation, such as a healthy soil with high organic matter. Slower rates suggest the presence of compaction, reduced porosity (high traffic by machinery and/or livestock) and lower organic matter.
|
Soil type |
Infiltration rate (mm/hour) |
|
Sand |
>30 |
|
Sandy loam |
20-30 |
|
Loam |
10-20 |
|
Clay loam |
5-10 |
|
Clay |
1-5 |
The slake test is a simple way of assessing soil structure. It measures the stability of soil aggregates and shows how well it can withstand external factors, so maintaining its structure to provide air and water for plants and soil biology.
Collect a handful-size chunk of topsoil from two areas; one which has not been cultivated and one which has.
Take two glass jars and some wire mesh. Mould the mesh so it can hook over the top of each jar and is large enough to hold the chunk of soil. Insert this into each jar and fill them with water, submerging the soil in the process.
Watch to see if the soil holds together or falls apart. Soil that disintegrates has a poorer structure and lower organic matter content than one which remains intact.
Two popular farmer-led methods of investigating soil life involve burying either cotton underwear or teabags for a defined period of time to assess soil life and the decay rate of plant material.
Developed in America and the Netherlands, both systems have been easily adapted to UK soils. Burying underwear is used to demonstrate the presence (or lack) of soil biology, with a two-month burial period being enough to show whether soil is sterile (intact underpants), or is teeming with life (only the elastic waistband left).
The teabag index indicates the decay rate of plant material, by measuring the weight loss incurred by teabags buried for three months. It helps show the relationship between soil organic matter and composting rate, with higher organic matter content soils showing faster decomposition.
Developed with SRUC, the VESS test is another straightforward, quick procedure for assessing topsoil by its look and feel. Each of three stages should take no longer than 20 minutes.
The steps are soil removal, assessment and scoring. Samples should be taken when soil is moist, from an area considered to have good soil structure and another from an area expected to have poor structure.
Step 1: Dig out a spadeful of soil to a depth of 25-30cm and lay it on a plastic sheet or tray.
Step 2: Open up the soil block with your hands, starting to break it up. Look for ease of break-up and any distinct layers of differing structure.
Step 3: Break it up into distinct aggregates and give it a score, matching what you see to descriptions and photos on the SRUC chart.
The SRUC website also includes videos to help explain the VESS test, says SRUC soil scientist Dr Joanna Cloy. “It allows a quality score to be given to the soil, which indicates if soil structure needs improving.”
This is another simple test which can be done by anyone in 20 minutes, using a spade. It is a visual method of evaluating soil with the results being presented with an overall mark on a scorecard. Dig a 20x20cm block of soil at field capacity – either in spring or autumn – and drop it onto a hard surface three times, from a height of 1m.
This ‘drop shatter test’ lets you examine, sort and record the soil’s aggregate size, and other physical factors such as porosity, colour and mottling. Using an AHDB scorecard, soils can be ranked as good (>25), moderate (10-25) or poor (<10).
Laboratory tests are more expensive, but will give you accurate data about your soil that you can use to power precision farming practices and benchmark yourself against others.
Medium cost
This is used to measure macronutrients and pH and is done regularly on most farms, to inform fertiliser strategy.
It gives the soil nutrient content of P, K and Mg, as well as pH, but does not provide information on soil biology, structure and root development.
Samples are collected by walking a ‘W’ or zigzag pattern across the field and then amalgamated before being sent to a laboratory.
Electrical Conductivity (EC) soil scanning is also becoming popular, as it allows soils to be mapped in zones according to texture. It only needs to be done once and results can be used with precision farming equipment to help vary seed rates and management practices accordingly.
High cost
The Big Soil Community is Fera’s co-ordinated effort to sample and analyse the biodiversity of UK soils, using DNA metabarcoding analysis.
Fera’s Guy Thallon says the Big Soil Community is an open invitation to farmers to make use of next-generation sequencing to measure soil fungi and bacteria and see how levels can change with different soil management practices. This year, it also includes nematodes.
For growers wanting to understand more about the complex communities of bacteria and fungi in their soils, it could be the answer. Joining the community costs £250 and allows you to send a soil sample into Fera during the designated sample window of October-November.
For that, you receive two detailed reports. The first provides results for your sample, giving a measure of the bacteria and fungi present, with the top groups by abundance.
The second is the Big Soil Community report, which allows you to anonymously compare your soils with the wider picture.
High cost
Monitoring soil organic matter is becoming the norm for farmers interested in soil health, with many testing for it every five years or so.
Deciding which test to use is the first dilemma. There are several available, each with their own pros and cons. The most commonly used is the ‘loss on ignition test’, which is most appropriate for high organic matter soils.
Mr Fuller says this standard test has accuracy issues and will give different results for the same soil, but recognises farmers need to start somewhere. Some 70% of arable farms have soils with an organic matter content below 3%.
Another test, called the ‘active carbon test’, measures how much of the organic matter is functioning. This can be useful for evaluating the effect of alternative management practices.
Variable cost
Agronomy firms offer a range of commercial services for those without the time or knowledge for DIY testing. These comprehensive services can be standalone or combined with agronomy advice, so costs vary.
Options include: