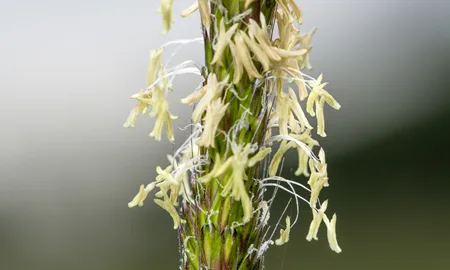
Are you preparing to get your seeds tested for black-grass resistance? Check out our 8-step guide and short video to make sure your results will be accurate.
Author
| 22nd May 2018How to collect seed for black-grass resistance testing: An 8-step guide
Providing a good seed sample is vital in the black-grass resistance testing process. Misleading results are not only a waste of money, but they could worsen black-grass problems if you unwittingly use herbicides with reduced activity.
For the basics on sampling black-grass, watch technical manager Ben Giles sharing his top tips:
And below, we’ve outlined 8 key steps to help you accurately test black-grass resistance.
1. Collect seed from different areas of the field
Seed must be truly representative of the field population, so only collecting seed from the field edge or tramlines will give misleading results. This is because plants from one spot are likely to have the same parent plant from one or two seasons ago.
2. Walk a 'W'
Similarly to soil testing, to get an even sample walk a large ‘W’ shape across the whole field, collecting seeds as you go.
3. Get your timing right
In winter cereals, the best time to collect seed is normally the second or third week of July, when 10-20% of seeds have already shed. For spring-sown crops, it is likely to be slightly later. Weather patterns should be considered when collecting seed – a cool, wet spring could see seed maturing up to two weeks later than a dry spring.
4. Ensure seed is ripe
If seeds are not ripe, the test will not work. When collecting seed, tap the seed head into a clean plastic container; you’ll need to collect around a cup full worth of seed in order to get a decent sample. If they fall on their own they are ripe, but if you have to strip seeds from the plant, they are still too green. You’ll need to collect around a pint’s worth of seed in order to get a decent sample.
5. If seed is damp, dry it
Resistance testing works best on dry seed. If seed has been collected in damp conditions, use a shallow open container to allow it to air-dry before sending off for resistance testing.
6. Use a paper envelope
Always use a paper envelope to send seed off and never use a plastic bag. This will ensure moisture levels do not build up causing seed to turn mouldy.
7. Fill in form details as comprehensively as possible
When sending seed for testing, it is important to give the lab as much information as you can, including exact GPS location (Lat. & Long.). All requested details should be filled out as extensively as possible to allow for better analysis of the sample, and better interpretation of the result, so you get the best advice.
8. Count black-grass populations
Test results offer a glimpse into black-grass resistance on your farm. It is important to know the proportion of the field population that your sample represents in order to determine the level of resistance that has occurred.
Want to know more about how your seed is tested? This video shows you what happens in the lab.
If you have any questions, please contact your local CTM or Tweet @Bayer4CropsUK.